There’s a Gorilla in My Alphabet Soup

I am going to write about a song I have just recently written but have not yet recorded. I realized about a month ago that I had not written a song for the classroom about the alphabet. Now that’s a tough one for me because everyone knows and loves the traditional alphabet song. How can a children’s songwriter improve on that.

Well, I don’t know if the song I finally came up with is an improvement, but it is definitely a song that can be used for a teaching activity in my preschool and kindergarten classes that I visit or for my shows that I do for young children. This song was so fun because the moment I finished writing it I was amazed how perfect it is. It tells the children that there is a certain letter in my alphabet soup and then proceeds to tell them that there is an animal that starts with that same letter in my alphabet soup. I was so excited about how perfect this song is that I immediately invested in purchasing some letters to paint and some stickers to put on the letters that showed the children the animal that is in the alphabet soup. And the animal being there is so perfect as that reinforces to the children who may be unsure about what letter they have in their hand is that indeed they have that letter. If I say there’s an A in my alphabet soup that may not be enough to tell them what letter it is that they have in their hand. But once I sing that there is an alligator in my alphabet soup, they know that is the letter they are holding and they will put that letter in the alphabet soup.  I think this is a fantastic learning activity.

I can’t wait to record and release this song. I’m already seeing more than one kindergarten age child laughing when I sing it

Cooper Caterpillar

Here is my friend, Cooper Caterpillar. I wrote this song this year (2018) and have been developing the activity that goes with this song. You will find this song on my sixth CD, Clap Your Hands. As you can see this is a very easy easy activity for you to create. Simply go on Amazon and find the caterpillar you like best. This one pictured is Mr. Tree. I also have purchased two Melissa and Doug Caterpillars that I may combine to make one large caterpillar for my more populated shows. I must always keep my music interactive.

This song teaches colors and also listening for the color that works for Cooper. If you look at this picture you will see that Cooper has felt shoes that this little girl has velcroed onto his feet as she heard the color in the song.  Young children totally love being involved in the song and look how much she loves that caterpillar. I use this song for larger preschool classes also and each child gets a different color felt shoe to velcro on his feet and when he or she hears the color in the song, he will put them on one of Cooper’s feet. As always if you listen to this song you will  hear that there is plenty of time for the children to go to Cooper to put the correct color shoe on his feet.

All you have to do is buy different colored pieces of felt, create a shoe pattern out of cardboard and and trace how many you desire on each color of felt that you have chosen to purchase.  I use a sharpie to draw laces onto my shoes to make them appear more realistic. This is such a fun way to teach colors.

If you listen to my CDs you will see that I have other songs that teach colors. You will soon find blogs about those. Look in my albums section to find my songs and download or purchase them whichever way is easiest for you. Here is a link to the song at iTunes. https://itunes.apple.com/us/album/cooper-caterpillar/1434357860?i=1434357866

A New Rug for My Babies Class

That sounds pretty simple doesn’t it? I am always working on making my classes interesting and educational for my little children. Usually I am creating activities for my preschool and kindergarten classes. Today, however, I had a different idea.


For the next two years my songwriting will be specifically focused on my babies, and as I am focusing on my babies, I am creating more learning ideas in song for them. So today while I was singing my song, The Number Song, for my babies, I suddenly realized that I needed an activity to help my tiniest audience begin to absorb my concept of recognizing numbers. Now with babies I do not believe in forcefully trying to teach them. I always believe in simply having the visuals around so that the babies can slowly absorb concepts through osmosis.
I went home and began trying to figure out what I needed. Do I need letters for them to handle? I thought that was too complicated. I need a visual that they all can enjoy. And then it hit me—a rug! I need a rug with the numbers 1 through 10. So I began shopping online. That was not easy. My rug had to be bright and clear. After a few hours I found the perfect rug. It has all of the numbers 1-10 and it even has the ABCs. It is bright and it is perfect. I happily ordered it and am pleased to say that I saw a few of my babies trying to pick of the letters off of the rug. This is a wonderful educational addition to my babies class! I’ve already enjoyed singing my newest song, My Alphabet Soup, because I have this wonderful visual.
Now don’t get me wrong. Most of my songs for babies are movement songs and interactive songs to be done with their Grammies, mommies and daddies. But now, I am pleased to say, I can begin adding other learning concepts in song because of the visuals that I will be adding to my babies class.

The Process of Creating a CD

img_9553On my newest CD are 11 original songs. Here are the stages of writing and recording an original song. (I have written about 40 songs total.)

1. Write the song. Usually I sit down with my guitar and let ideas flow.

2. Voice memo my song in all stages. I like listening to how my song sounds. This tells me if I need to make changes. I will then save final and good copy into my Google drive so that songs are easy to find.

3. Sing with children in my classes. I want to see their reactions and I need to see how the song works in existing tempo and form. I sometimes edit and rewrite.

4. Continue to sing and learn well and observe children’s reaction. The more I sing the song the better it sounds. This is how I get it ready for recording. It will sound like a well known song. The vocals will be confident and good. I will also know at this time what instruments I’d like to see in the recording.

5. Go into the studio. Once I have written about 10 good songs I am ready to go into the studio.

6. Studio process starts with what Chad Cummings calls scratch tracks. These are the tracks that are simply sung to set tempo and form.

7. Lay down separate real and final tracks. Guitar, vocals, harmonies, drums, piano, fiddle, banjo, mandolin, bass, sound effects, spoken parts. This has taken me anywhere from 4 months to 9 months depending on time in the studio. Usually for me once a week for a few hours. I will hire different musicians to come in and lay these tracks. Shana Aisenberg, Craig Bryan Jr., Eric Rollnick often. I also have children come in to sing on 3 tracks. That is my formula. Familiar songs or easy ones that I think children’s voices will sound nice on.

8. Mix tracks.  When this is finally complete, Chad will go through each track and mix them.

9. Master tracks. Chad then goes through and masters each track.

10. Cover Design.  We have to deal with cover design. Discmakers has designed 3 covers for me. This time I had another friend, Jeari Czapla, design and submit. In the mean time I am pulling together all of the credits and tracks and performers and photos. Thank you Lisa Valleypromos DuFault

11. Submit materials to discmakers. In 2 or 3 weeks discmakers will create CDs for me. They submit information to CD Baby. I have had a lot of satisfaction using them so this is where I stay.

12. Get CDs ordered.  Discmakers sends me amount of CDs I order and some to CD Baby. CD Baby sets me up on iTunes, Amazon, Alliance Warehouse, and many different streaming sites. I go pro so that I can receive royalties for any possible purchases of my original music.

13. I then social network. Twitter and Facebook are my main social networks. I also use Linked in, Pinterest and Google plus but not nearly as often. I have a website, sharonnovak.com and a Facebook page. My Facebook page is my most personal and up to date networking site. I keep my audience abreast of classes and events.

14. Copyright!  I always make sure that I copyright all of my original songs. This provides extra protection not that the rule of if you write it you own it doesn’t apply, especially if I publish it on a CD.  But copyrights do insure ownership and protection. Better safe than sorry.

I have finished 4 CDs and have already begun writing for a sixth. Yes, the fifth will be all of my lullabies compiled into one CD.

I won’t mention the shows and getting myself out there.

Hahaha. This is my second job.  As you can see. Lots of work. I love every minute of it. These songs are my creation and they are for the children I love so much.

Meet Dennis!

IMG_7170

Teaching Rhythm to Babies, Toddlers, and Preschoolers

I sing with babies, toddlers and preschoolers almost everyday, and one thing I understand as a music teacher is that there is one serious deal breaker to learning music: that is the inability to feel a beat or the failure to understand rhythm.

A person can play notes that he reads even if his pitch is not perfect. He will probably eventually learn to hear those notes a little better if he keeps playing an instrument. But the lack of understanding and feel for rhythm can halt his progress on learning to read and play music if this inability isn’t repaired. I have worked with a few people who are totally rhythm deficient. Teaching this understanding is not easy. Although I am almost always successful at teaching rhythm to children, I have not always been successful in the most extreme cases where the child has grown older and has never had any training in rhythm. I tackle rhythm hard early on with my children. As soon as they are comfortable enough to play a few simple songs, we start with metronomes or my drum machine (which I happen to prefer with many children.)

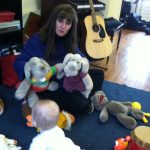
Because I have the privilege of singing with babies, toddlers, and preschoolers, I have made it my goal to make sure that every baby, toddler, and preschooler learns to feel rhythm. You will notice that I said “feel.” I didn’t say, “understand.” That comes later. Babies will not understand the rules of timing and meter, but they can and will learn to feel rhythm in my class.

I will describe what I do to accomplish understanding of rhythm at each stage.

Babies (up to about 18 months)

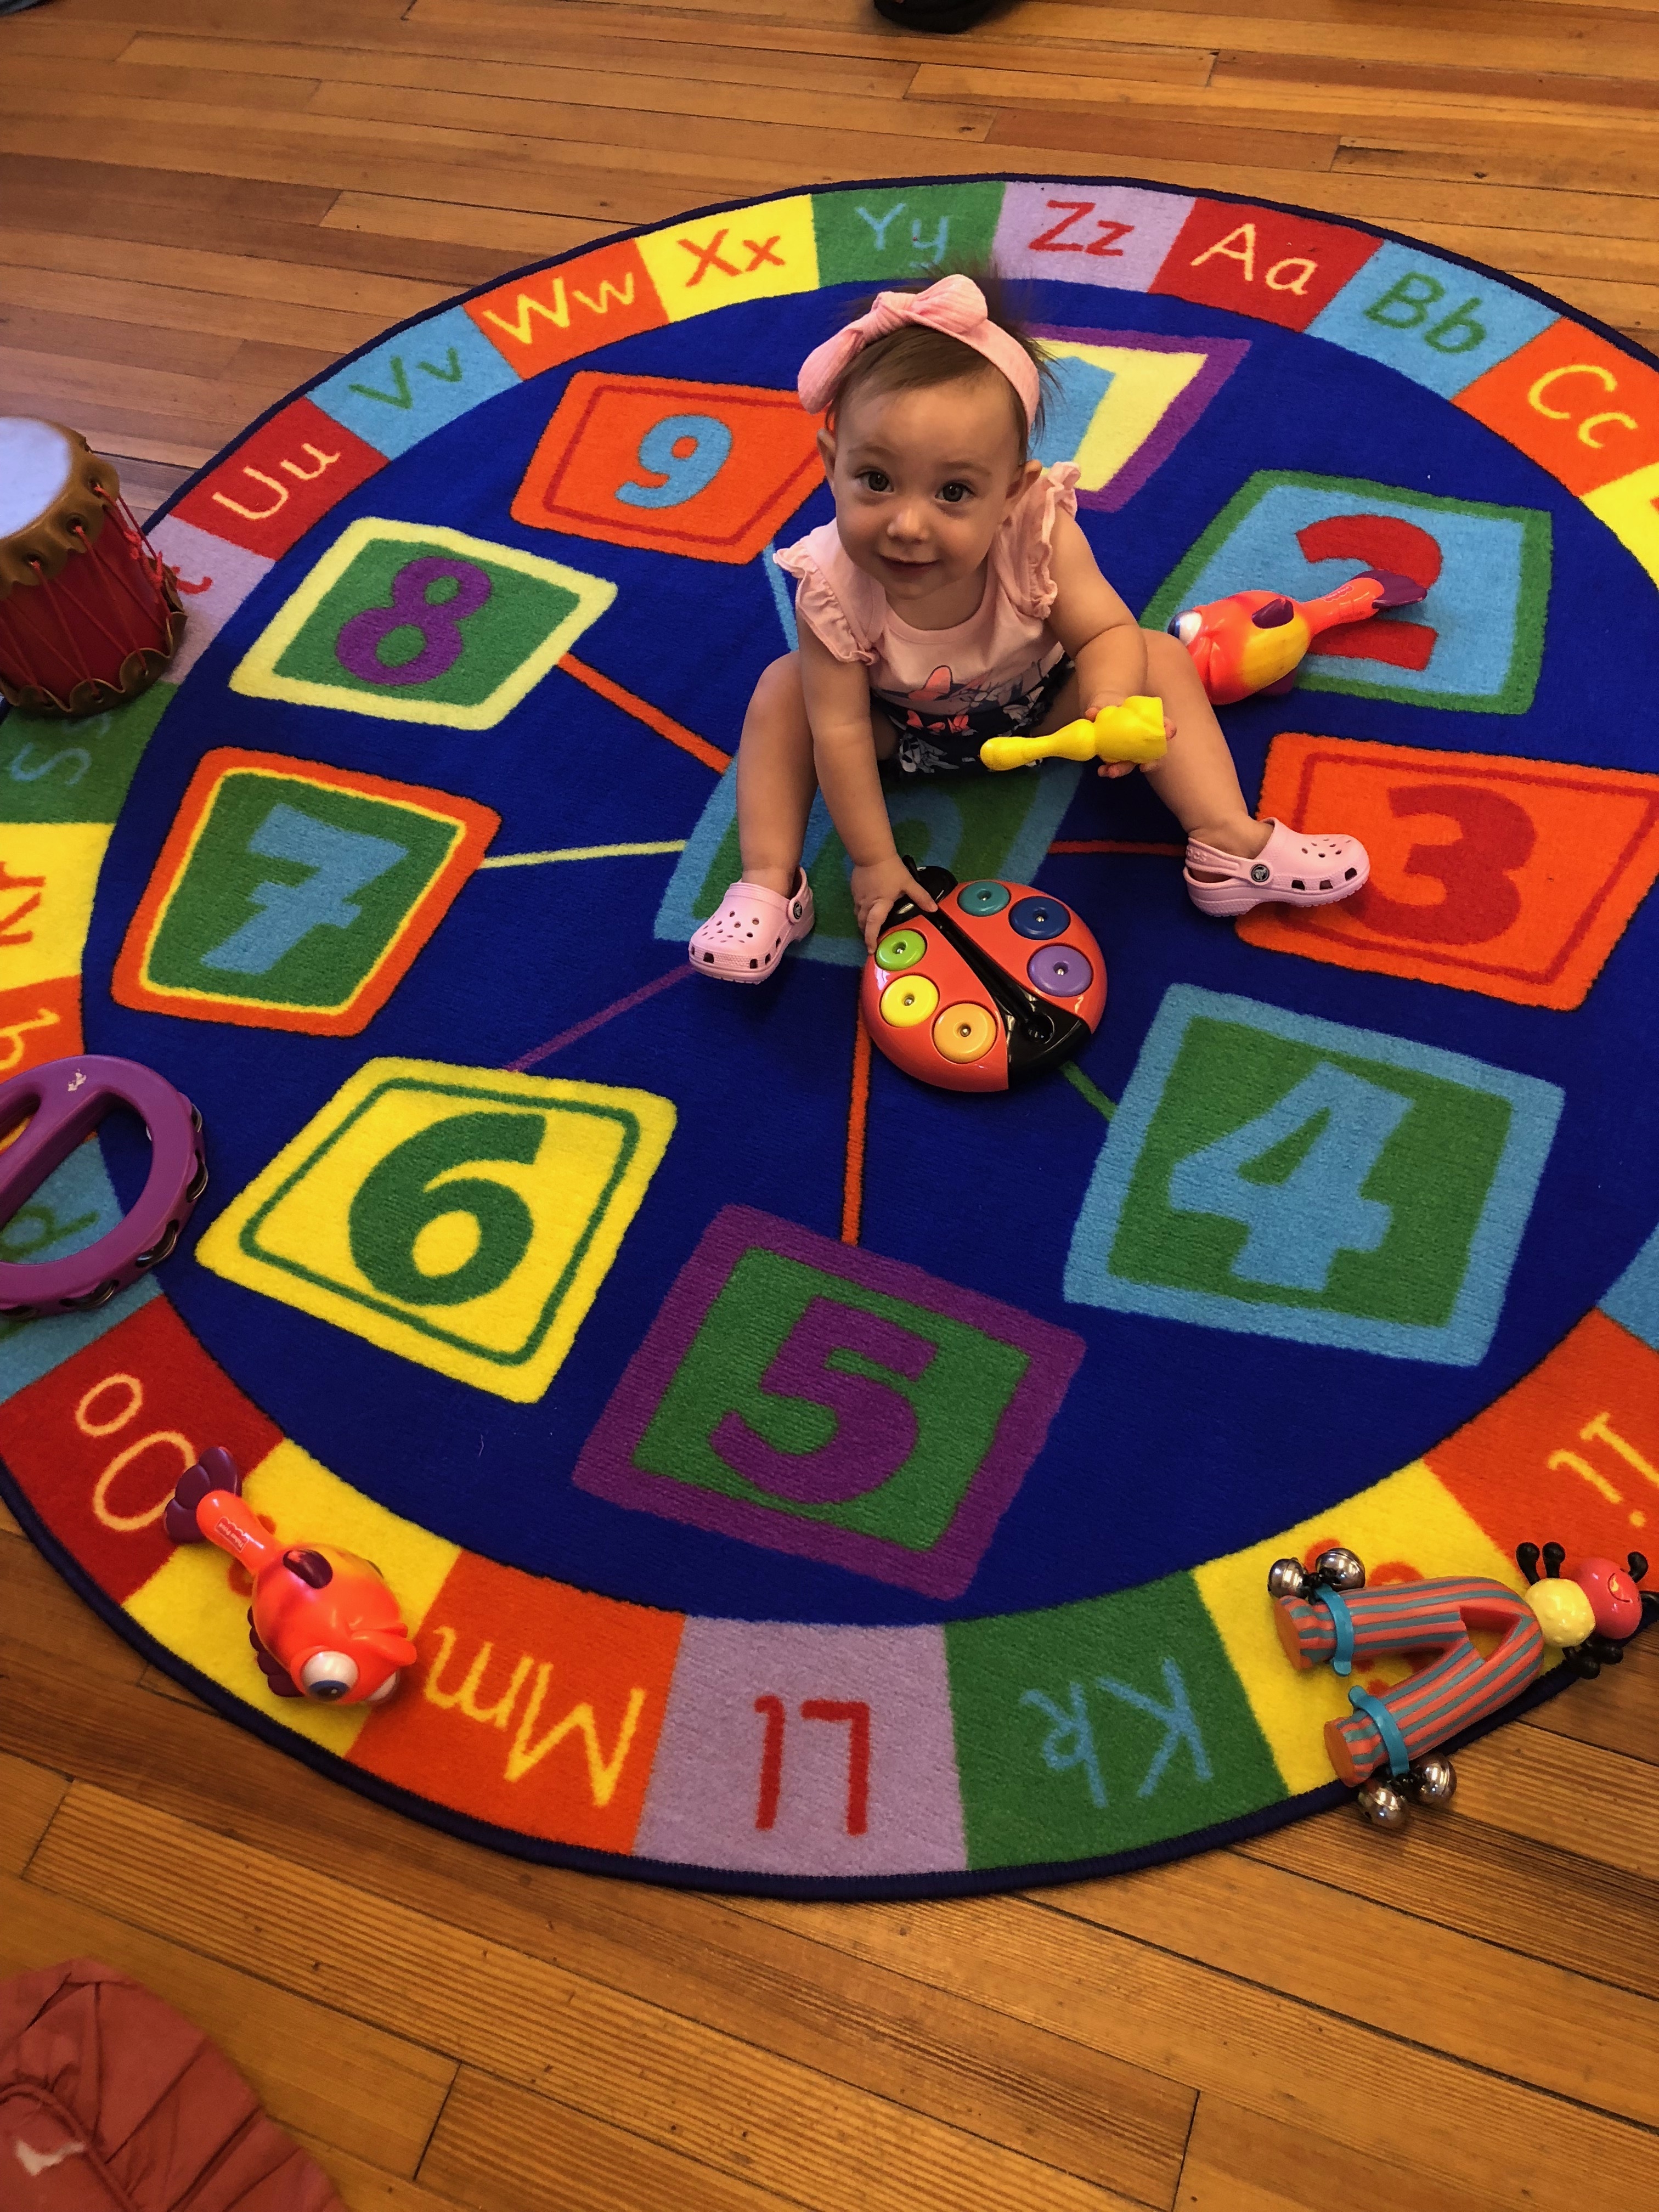
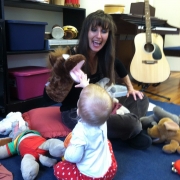
Babies are fun. When I teach babies rhythm, it does not look like I’m teaching at all. I am sitting on the floor with my rhythm guitar strumming, singing, and tapping my feet which have foot tambourines on them to really emphasize the rhythm of my songs. My body is often moving to the beat of the song and sometimes I will actually count beats out loud.

With babies, I choose to sit with them most of the time so that I am at eye level with them. I put instruments out in front of those babies so that they will have things to enjoy trying to figure out while I’m playing and singing. While this is happening it is amazing to watch those babies move, dance, clap, try to pat drums, shake rattles, sway, or sing. I never cease to be amazed at the elation and joy that music brings to babies. I always praise the mothers and fathers for seeing and understanding how valuable music is to their babies. Bringing your baby to a group music class is invaluable in this process of beginning music education. I have yet to see a baby who does not completely enjoy being around music.

I must point out that every child who started in my babies music class shows a complete understanding and feel for rhythm when he has finally moved to my preschool class.

Toddlers (18 mos – 3 yrs)

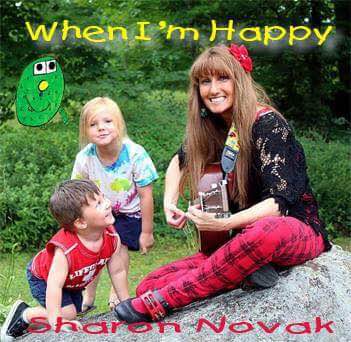
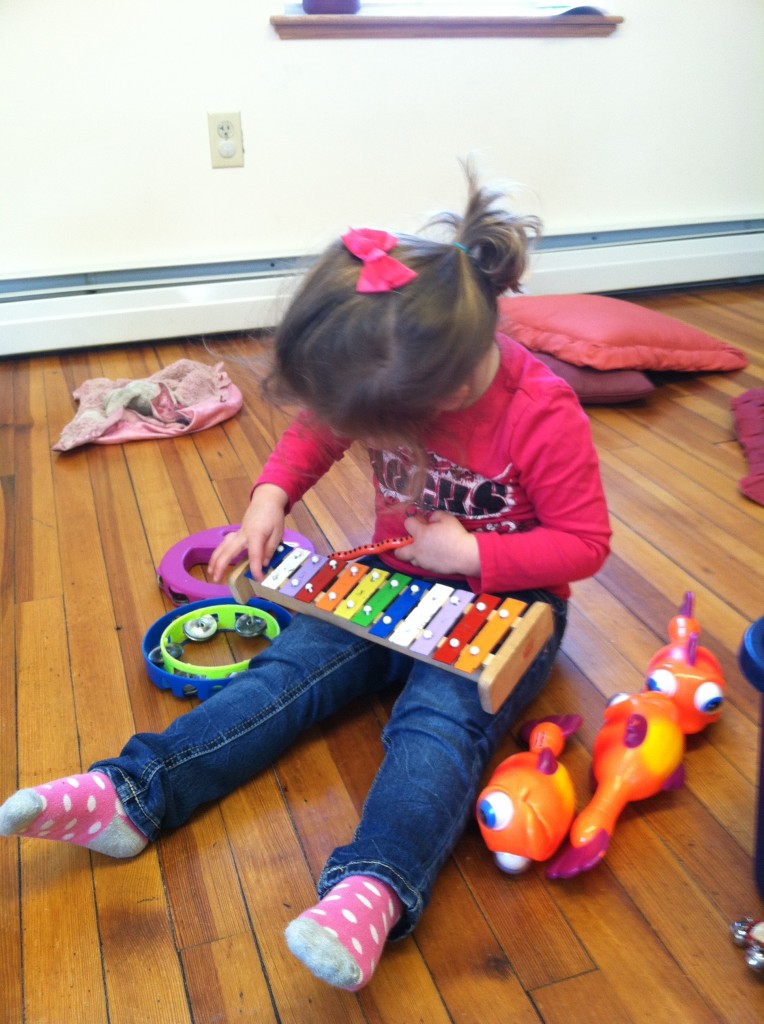
For my toddlers, I can start involving them in the music. I will sing songs that invite them to move, dance, stomp their feet, clap their hands, jump up and down. Now they are physically responding to the beat of the music. I still do not use any formal training with music notes on the staff, but at this stage they will hear me count beats out loud in the song. For all children, teaching rhythm through body rhythm is very valuable, but for toddlers, it is the primary and almost only method I use. I have a 45 minute toddler class and most of the class involves them watching me, mirroring me, or following my instruction. (This by the way is invaluable preparation for school as I have pointed out in one of my other blogs.) Many of the songs you will hear me sing I have written just for this purpose and you can now find these songs on my two CDs, Dance with Me: Songs for Young Children and Color Songs: Songs for Children.

Now, I no longer sit at eye level the entire time. I am up and moving and having them move with me. They love the dancing and movement. We use sticks and scarves and body movements to work through other songs. At the toddler level, children are still learning to feel the music. Studies are now proving that play is the most important way for young children to learn, and this principle is clearly applied in all of my music classes for young children. If it isn’t fun, learning will not happen. My toddlers, frequently beg to come back. Parents who consistently bring their children to my music classes are laying a solid and strong musical foundation as well as a foundation for all learning. What looks like fun in our eyes is the most serious of learning for these toddlers.

Preschoolers (3 yrs – 5 yrs)

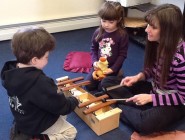
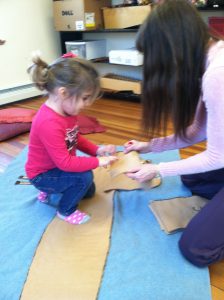
Now that the foundations have been laid  (through my classes or listening to music at home) we are finally ready to begin the most basic of formal music education. We are still by no means going to get very detailed or technical, but we do start formally counting beats with sticks, drums and body movements. Not only are we learning basic beginner principles of music, we are preparing for reading. I have children placing notes on my felt music staff and I even have them practice drawing these notes on my enlarged musical staff worksheet that I hand out. This is not just good for learning music, but it is also good for teaching them to read and write. We are working on drawing from left to right. There are just so many wonderful activities that we can do with preschoolers to teach them to get the skills necessary to learn to read and play music. I get specific about many of the activities that I use in my other blogs. Check them out!

Even in my preschool class, I still include my fun movement activities that were present throughout my toddler class. A few movement activities is a great way to start my class before we start working on the more formal learning.

I encourage every parent of young children to find a good music class and enroll your young children in these classes. These classes are so very valuable to children’s growth and development, not only musically, but in many ways!

Stick Activities with Toddlers and Preschoolers

Using two simple wooden sticks can be such a wonderful source of learning and entertainment for toddlers and preschoolers. Getting them to clap or directly work with their bodies is one new thing they are learning to do, but adding an external object is a little tougher. This takes more coordination on their part. Young children are very quickly gaining hand eye coordination skills through video games and electronic media, but the act of using wooden dowels makes it physical. Little boys love being able to bang sticks, but so do girls.

Here are some of the activities that I use.

1. Making Rain   This is a great activity for controlling loud and soft and fast and slow. I will tell the children, “I see a big rain cloud coming, but I don’t have to go too far. I think I can walk to the store.” When I am walking it starts to rain really softly so I have them tap their sticks slowly and softly with me. “Oh no!” I say a bit anxiously. “It is starting to rain really hard!” At this time we bang our sticks quickly and loudly. Toddlers and preschoolers love the sudden change, and they love banging their sticks loudly and feeling the anticipation of the heavy rain. I then tell them that the rain is slowing down, “but I am already pretty wet.” We again tap our sticks softly and slowly. Then, “Oh no, it’s starting to rain really hard again!” We repeat this cycle about 3 times and then with the last big rain I say, “Oh look! There’s a rainbow. I see blue sky. The sun is coming out! The rain stopped.” I then tell them to put their sticks up. Putting their sticks up at the beginning and end of each activity is a great way to keep them from getting distracted and to keep their focus on me as the teacher and leader of the activities. They love this as you can see from my YouTube video: https://www.youtube.com/watch?v=wU73aQRBoMU (This video is at the bottom of this page on my website!)

2. Froggy in the Meadow    This is a little rhyme that I learned and use almost every week with my toddlers. “Froggy in the meadow, can’t get him out. Take your sticks and try to get him out!” Then the children and I bang our sticks very quickly and loudly on the floor. This is wonderful because these young children are mirroring me. It is so very important that these children learn to follow what I am doing. We then chant together, “Froggy in the meadow, can’t  get him out. Take your sticks and stir him about.” Then the children and I take our sticks and stir them on the floor together. We then chant the first part because nothing has yet worked to get that froggy out. The last time we chant and then bang our sticks we can say, “Yay, we got him out.” I then say “Sticks up” to get ready for the next activity. Putting our sticks up is a great way to transition from one activity to the next as it will help keep them from being distracted.

3. Do As I’m Doing    This is something I sing, but it could also be chanted rhythmically. “Do as I’m doing, follow, follow me. Do as I’m doing, follow, follow me.” I tap sticks on the floor counting to four so that the children can hear that four beat count. I then change my action and click the sticks together, repeating this same song or chant. I can make up as many actions for them to follow as I choose. Here is where the teacher can get creative and use what works best for the children. Again, this is an excellent mirroring and following directions activity. The children have to watch me to know how to do the activities. This is also another good activity to musically let them feel rhythm. It takes toddlers a while to fully grasp rhythm, but believe me, if I do rhythm activities consistently, they will learn to feel and understand rhythm. I say that there will be no learning of music without understanding rhythm. This is very important and a necessary foundation. I have seen success as they grow older. The key is knowing what they grasp and expecting no more. This is teaching for success and success is measured in very small things. Appreciate every tidbit of success!

4. The Cobbler Song    This is the chant that I use, but different poems or chants could be used. I have the children take one stick and hold it up vertically while the bottom of the stick rests on the floor. Then they take their second stick and hammer the top of that stick. I always tell them that they are hammering a nail. (Good sticks that are not too long or narrow are best for this activity, and sticks that have flat ends are best.) Here is how my rhyme goes. “There’s a cobber down the street, Mending shoes for little feet,   With a bang and a bang and a bang, bang, bang,   With a bang and a bang and a bang, bang, bang.   Mending shoes all day long, Mending shoes to make them strong,   With a bang, and a bang, and a bang, bang, bang, With a bang and a bang, and a bang, bang, bang.” Any rhyme that allows them to hammer could be used. Again, this is another great mirroring, following, and rhythm activity.

5. Five Little Monkeys    This is a great little break after I have worked them hard as they have had to to follow me. I simply have them hold their five fingers up (Toddlers can try to help me count them but will not understand the eliminating one finger at a time process.) I simply have them bang a stick on the ground each time that monkey bumps his head (and then I add a pause in the rhythm and say, “Ow”) This is just a simple chant that children absolutely love. A little fun mixed in with work. This is what works best with children and children’s programs. Teachers and leaders have to mix up the work with fun, but it always has to be fun to keep children’s attention.

6. Rhythm Activities with Preschoolers     I will not elaborate here as I have discussed this more in my other blogs, but sticks are great for counting beats and rhythms. It is really nice to be able to use an external object besides their hands to teach them more coordinated movement. This is also a great introduction to preparing them to play a real instrument. The simple action of playing the sticks instead of their hands is a step that prepares their brains for learning to play an instrument. With preschoolers, drums would be next, but for starters, sticks are a little less distracting.

Sticks are a wonderful. They are but one manipulative among many that can be used. There are many more activities with sticks that have been created. These are only a few examples. Try making sticks one of your toddler or preschool activities.

Playing Xylophones to Begin Music Education

There is so much to learn in the world of music. As a matter of fact, good musicians never stop learning. Music can be very complicated and there are many levels and facets to learning music. How to begin formal education with young children can seem overwhelming at times. One instrument that is so wonderful for introducing playing and reading music with very young children is the xylophone.

Teaching young children has to begin very simply. Fine motor skills and reading are not even developed, so much of the earliest music education is about skills that prepare children for reading and simply appreciating music and understanding simple pitch and rhythm. When children are three years old, we can begin introducing them to very simple reading skills. I find that using the xylophone is one of the best ways to introduce them to reading and playing.

The first thing is purchasing a good xylophone. Look on any sites that sell instruments for music education and compare prices. A good xylophone for a classroom will cost several hundred dollars. Just shop. The purchase will be worth it.

Once you have acquired a xylophone you are ready to begin teaching. Remember, that very young children are not quite ready to play complete songs, even simple ones. You must begin with very simple phrases. I like to start with a simple “sol, mi” pitch pattern like the the melody you find in the song, “Rain, Rain, Go Away.” (There is one “la” in the song, but first part is there.) Simple songs like this can be found in The Kodaly Method:Comprehensive Music Education from Infant to Adult by Lois Chosky. I put only two notes on my xylophone or hand them two tone bars if this is what I have purchased instead of the entire xylophone. These movable bars give you flexibility and make the chore of playing music very simple for very young children. They are now not having to find the notes. You have found the notes for them and have given the notes to them.

The teacher will give the children who are playing two mallets, one for each hand. It is best to find mallets with shorter and wider sticks attached to a slightly larger head. If these are not available for purchase, then making them may be an option. Let each child have one mallet in each hand for playing one note at a time. Play notes for them so that children can mirror your playing one note at a time, one per hand. Some young children may not be able to alternate hands while playing. Encourage, but don’t penalize if they cannot do this yet. This is a skill that takes time to learn, so playing each week will slowly teach them how. This is also a cognitive skill, so it will happen when it is time for them to be able to do it. It cannot be forced ahead of time. If they play hands together instead of separately, give them praise! With a “sol, mi” pitch, they are still playing the chord. Young children will be so proud of themselves for playing an instrument! This will be their first success at playing real music!

When I teach with just two notes, I show them the notes on my felt staff that I have made and let them each come up and put those two notes where they belong on the staff. Children love putting the felt notes on my felt staff. After we have done this, we practice trying to draw the notes. Three year old children have less success with this, but they enjoy doing it and this is the beginning of their reading and writing career. I am always very conscientious of going from left to right since this is the direction in which we read in many of our countries and in our music!

Now, once this foundation has been laid, children who are four years old are ready to learn to play a really simple song like hot cross buns. They will enjoy this because it sounds like a real song. Again, just apply the felt activity to help them reinforce the reading of notes. I use B,A,G. Any notes will do. With songs like this, I just have my students play with one mallet in one hand. At this age children will be ready to explore learning other instruments like piano, but still at a very elementary, introductory level.

If you as a teacher can successfully begin using xylophones for teaching music, you will successfully introduce your students to the world of formal music education.

Using Puppets with Babies,Toddlers, and Preschoolers

Children love visual stimulation and babies and toddlers love faces. Now what could be more appealing than puppets? Puppets can be so entertaining for babies and young children and are a great way to get children’s attention. If a teacher needs to teach a new idea, using puppets is a fantastic choice.

Using puppets as part of your curriculum does not demand that you be a ventriloquist or have years of experience. Babies, toddlers, and preschoolers will be interested in your puppet for so many reasons. Here are some very simple guidelines.

1. Make it is visually stimulating. Just watching the puppets alone will hold children’s interest. The story or song that goes with it is not the only source of interest. Puppets with bright colors and good eyes are always best. Young children love faces and good eyes! Mouths that move are preferable. I always try to remember to open the mouth each time my puppet says a word. Try not to move the puppet around too much so that children’s eyes don’t have to work too hard to follow your puppet.

2. Make sure your puppet tells a good story that holds their interest. Create simple plots. Think like a child! Watch them! They will tell you what to do by their reactions and interaction. The good thing is that they will be so interested in the puppet, they still won’t mind. Get good ideas from age appropriate children’s books, shows, and songs and use them or rewrite and adapt original material using similar formats.

3. Use traditional stories or songs or create new ones. Start with something like farm animals on Old MacDonald’s farm or animals on Noah’s ark. Remember, everything is new to these little children! No matter what you create and share will be exciting if it is something they can relate to. Take traditional stories like these and add your own creative twist.

4. Give your puppet a name. This will give you a sense of the puppet’s personality that you can expand on. I have my barnyard animals that I use with my babies. There’s Pete the pig, Wally the duck, Charlie horse, Chuck the dog and his cousins, Buck and Lulu. I enjoy these names so it is easy for me to have fun with the songs I use them with.

5. Make the entire skit you use something you enjoy. If you enjoy it, the kids will enjoy it. Really. Your happiness will be transferred to them. How simple is that! Because it is fun, it will be much easier for you to create more characters and additions to your plot.

6. Use all kinds of puppets. You do not have to use the most expensive or famous name brand puppets. You can find great puppets at thrift shops, yard sales, or make them yourself. Before you know it you will have a good collection of puppets who become your companions.

7. Don’t wear out your welcome. Keep the show time with your puppet simple and only long enough to hold the attention of your particular age group. Remember that young children’s attention spans are not very long. If you watch your audience closely, you will know how long to keep going. The more you do this, the better you will be! Learn as you go!

I cannot emphasize enough how simple it is to use puppets and how engaged your little ones will be. Please, start looking for your first puppet today!

Some Felt Activities I Use with Preschoolers

When I started singing with very young children, I had to come up with ideas that would work. Well, naturally, movement was one idea, but I also knew that I needed props and objects that they could manipulate to make activities have meaning. I begin pulling together a few songs that would allow me to create some good felt activities.

Aikendrum was my first felt activity. I think most of my readers here are familiar with the guy who lives on the moon who has body parts made of food. I knew exactly what to do. I went and bought felt and made the body and put it on a dark blue background. Then I made all of the food body parts. I give a body part to each child and that child had to listen to the song so that he/she knew when to put the body part on Aikendrum. This is still the favorite of all of my children. The song is paced just right for the children to have time to take their turns putting on the body part. Children love being involved in an activity.

My next activity was “Sally the Camel.” This time I used fleece because it is the fabric I had. I made Sally the camel with a very long body and made ten humps to fit on her back. My preschoolers take turns taking off one hump at a time until she is left with no humps. My toddlers love this activity. With this activity we are learning to take turns and learning to count. It is another valuable activity.

We use “The Old Lady Who Swallowed the Fly.” I created the old lady out of a 2 liter soda bottle with the top cut off and covered in fabric. I added a head with a large mouth that opens. Then I collected the animals that she swallowed for the children to take turns putting inside her. They love it! Just another hands on activity!

I have made costumes that I use for the song, “The Little White Duck.” The children get to dress as a duck, a frog, a bug, a fish, a snake, a bear, and a bird and act out the song as we sing it. Children love to act! This works best with young elementary groups that are small. I have six different animal characters so I have to use this with small groups.

And of course there is “The Green Grass Grows All Around.” Yes, I have a hole in the ground, a tree, a branch, a nest, some eggs, and some birds. The kids love this. You can add whatever you’d like.

These are just a few examples. I have other activities that I use or have used. Some have been more successful than others. It’s all about experimenting and finding out what works. Start creating activities that use felt of other props that get preschoolers involved. These activities are so wonderful for teaching children to listen to and follow directions. Children learn to become more aware of their surroundings and they learn whatever lesson the activity teaches them. I use felt and fabric instead of paper because it lasts much longer. I have been carrying Aikendrum around with me for seven years now and he still looks great! These activities are fabulous learning tools for any story time or music activity! You don’t have to sing. Just tell the story, and if you do sing and your singing is not perfect, the children will not mind at all. They will be having way too much fun to notice!